Art’s Tomato Soup

This recipe was developed by my dad originally, and he usually prepares it in BULK for dinners and such. As such, I had to figure out how to scale this back down for my family of four.

The key to this soup is to double the usual amount of carrot in the mirepoix mix, which moderates the acidic bite of the tomatoes. You get a tomato soup that even people who don’t much care for tomatoes (like myself, sadly) can enjoy.

Grilled cheese sandwiches optional.

Ingredients:

1 large yellow onion

1 stalk celery

2 medium-large carrots

2 Tbs butter or oil

pinch of salt

4 14.5 oz cans of tomatoes, or 2 28 oz cans. Whole, diced, or crushed, but not sauce or paste

1 Tbs dried basil

Chop the vegetables. Saute veggies in the bottom of a pot with the fat and salt over medium heat until the onions are translucent. Add all the tomatoes and basil. Bring up just to a boil, then turn down the heat to low and simmer 20-30 minutes, until all the vegetables are soft. Blend with a blender. Soup may be kept at a simmer until time to serve.

Veggie Bars

When you’re craving veggies and you want something easy to eat, this is a top recipe. I’ve also heard it called veggie pizza, even though only the crust is baked and there’s no tomatoes. It’s a great choice to take to a summer pitch-in, so long as you have a cooler to keep it chilled until it’s ready to serve. The half shown above is what’s leftover after my family of four ate our fill, so there’s plenty for a crowd.

  • 2 cans of refrigerated crescent roll dough
  • 1 cup mayonnaise
  • 1 packet of dry ranch dressing mix
  • 1 bar of cream cheese (8 oz), softened
  • 1 head of cauliflower
  • 2-3 stalks of broccoli
  • 2-3 green onions
  • 2 cups shredded cheddar cheese

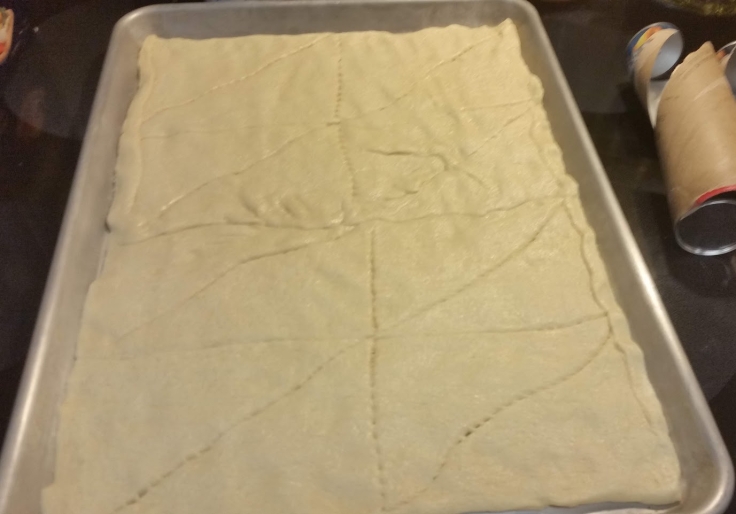
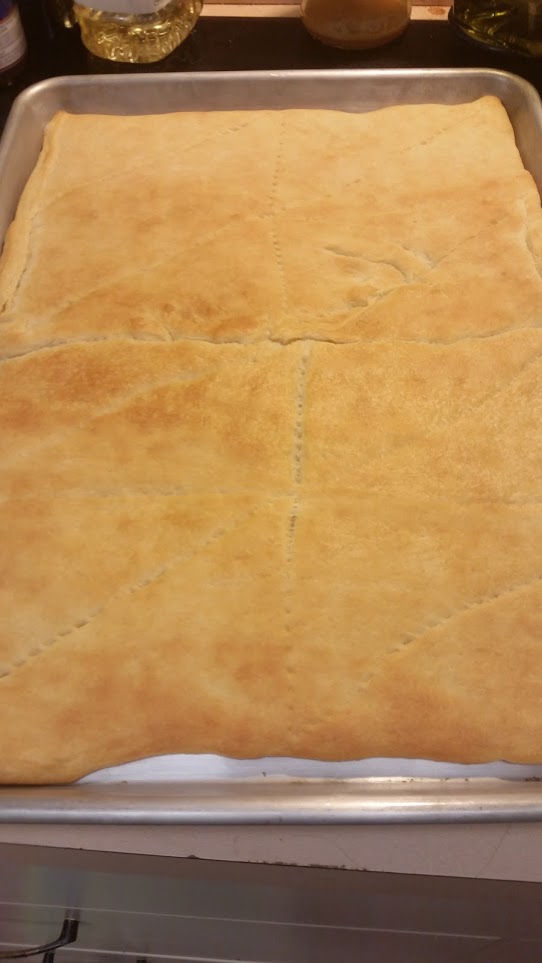
Open both cans and unroll the dough. Flatten onto an ungreased cookie sheet, pressing edges together to make an unbroken sheet of dough. Bake according to the directions on the can. This is your crust. Let it cool while you prep the rest.

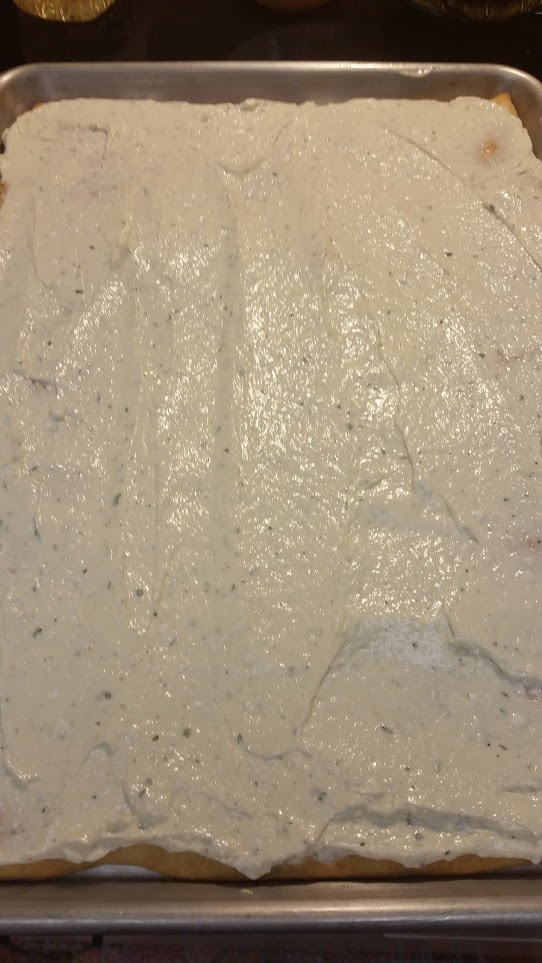
Using a mixer or a lot of effort with a fork, combine the ranch dressing mix, the mayo, and the cream cheese until it’s completely mixed and there aren’t any cream cheese chunks left untouched.

Chop the head of cauliflower and the broccoli heads roughly (you want smaller pieces that will stick more easily and compress better). Slice the green onions.

Spread the mayo mixture on the crust, getting it right up to the edges and as even as you can manage. Sprinkle the veggies on, broccoli and cauliflower first, then the green onions. Lastly, add the cheese. Gently press the toppings down a bit, to get them to adhere a little more to the filling. Cover in plastic wrap to chill a bit in the fridge; at least half an hour.

Before serving, cut into bars. A butter knife or the edge of a serving spatula will cut through all the layers if wielded firmly. A long cutting knife (like a chef knife) will go a little faster, though.

Eat with your hands! Some of the veggies and cheese will inevitably fall off, so eat over a plate or outside, where the squirrels can get it.

Wrap the rest or put it in sealed containers, then stash in the fridge for a quick lunch later.

dough

baked

covered

complete.jpg

Falafel (canned chickpeas)

This recipe is designed to be made with canned chickpeas, which are often more convenient than raw or cooking your own. This is a recipe from my sister-in-law’s blog, She Spills the Beans. You can find her version there: https://shespillsthebeans.com/2004/03/07/rozs_and_jocely/

  • 1 can (15 oz) of chick peas, drained (the liquid can be saved for some vegan purposes, such as a substitute for egg whites, but isn’t needed for this recipe) – if cooking your own, approx 2 cups cooked chickpeas
  • 1 slice of bread, crumbled finely
  • 1 Tbs flour
  • 1/2 tsp baking soda
  • 2 cloves garlic, minced
  • 1 egg, lightly beaten
  • 2 Tbs parsley (chopped if fresh)
  • 3/4 tsp salt
  • 1/4 tsp black pepper
  • 1/4 tsp ground cumin
  • 1/2 tsp turmeric
  • 1/4 tsp basil
  • 1/4 tsp marjoram
  • 1 Tbs tahini OR 1 Tbs olive oil
  • cayenne to taste (a dash is enough unless you like it spicy)

Some extra flour for coating, and clean oil for frying (canola or vegetable are recommended as they’re more stable than olive oil at high heat).

Drain and mash the chickpeas with a potato masher. Add all the other ingredients and mix together until well combined. (After the chickpeas were mashed, I switched to a fork to mix and squish more thoroughly.)

Roll the mixture into roughly one inch balls (a little bigger or smaller is fine).

Pour oil into a skillet or medium pan until it’s about a half inch deep, then heat shimmering hot. You want it past boiling (212 F) before you start frying.

Roll the balls in a little flour to coat, then drop into the oil. Fry three or four at a time in the hot oil, turning them frequently, until they’re well browned. (They’ll actually brown a little more as they cool, so don’t worry if they’re not super dark.) Remove to a plate with some paper towels using a slotted spoon or a spider. Continue coating and frying until all the balls are cooked.

To eat, place two or three of the falafel balls in a pita bread pocket. Top with your choice of cucumber, tomato, olives, Greek yogurt (plain), fresh mint, or fresh dill. If you don’t have a pita handy, you can roll it up in flatbread or naan.

A WordPress.com Website.

Up ↑