Sourdough Meat-and-Potato Rolls

One of my friends online once said I could make anything into either bread or soup and asked if I’d ever make venison bread.

The idea stuck with me, hence this recipe. I adapted it from a sourdough potato roll recipe and used some stock I’d made myself that’s pretty strong- I cooked the venison for three days in a slow cooker before straining. If you try this yourself, you might not get the sheer meatiness I did unless you either make your own stock or concentrate some down. If you do boil down some store-bought stock, watch the salt! Cut the salt in the recipe by half or you might really overdo it.

100 g (1/2 cup) fed sourdough starter, 100 percent hydration.

1 cup strong stock, divided

1/3 cup unsalted butter, softened

1/4 cup granulated sugar

1/3 cup instant potato flakes

1 large egg, beaten

1 1/2 tsp kosher salt (adjust to suit the saltiness of the stock you’re using)

450-500 g (about 3 1/2-4 cups) all-purpose flour

1 tsp crushed dried rosemary

1 1/2 tsp melted butter

Heat up 1/2 cup of the stock and mix the potato flakes into it. Let stand a few minutes to let it hydrate.

Mix the potatoes, the starter, the remaining stock (lukewarm or slightly warm), the softened butter, the sugar, the egg, and the salt with the flour in a bowl. Once it comes together, knead either with a dough hook or by hand until it’s soft and springy and just slightly sticky but cleans the side of the bowl if using the hook. If the dough is too wet, add flour a spoonful at a time. If it’s crumbly, add a little more warm stock or water.

Form into a ball and place in a lightly greased bowl. Cover with plastic wrap or a lid and let rise 4 hours.

If you plan to bake them the same day, let it rise 4 more hours. If not, place in the fridge to hold for up to 3 days. When you take it out, let it come to room temperature and then rise another hour or two after that, until it’s puffy.

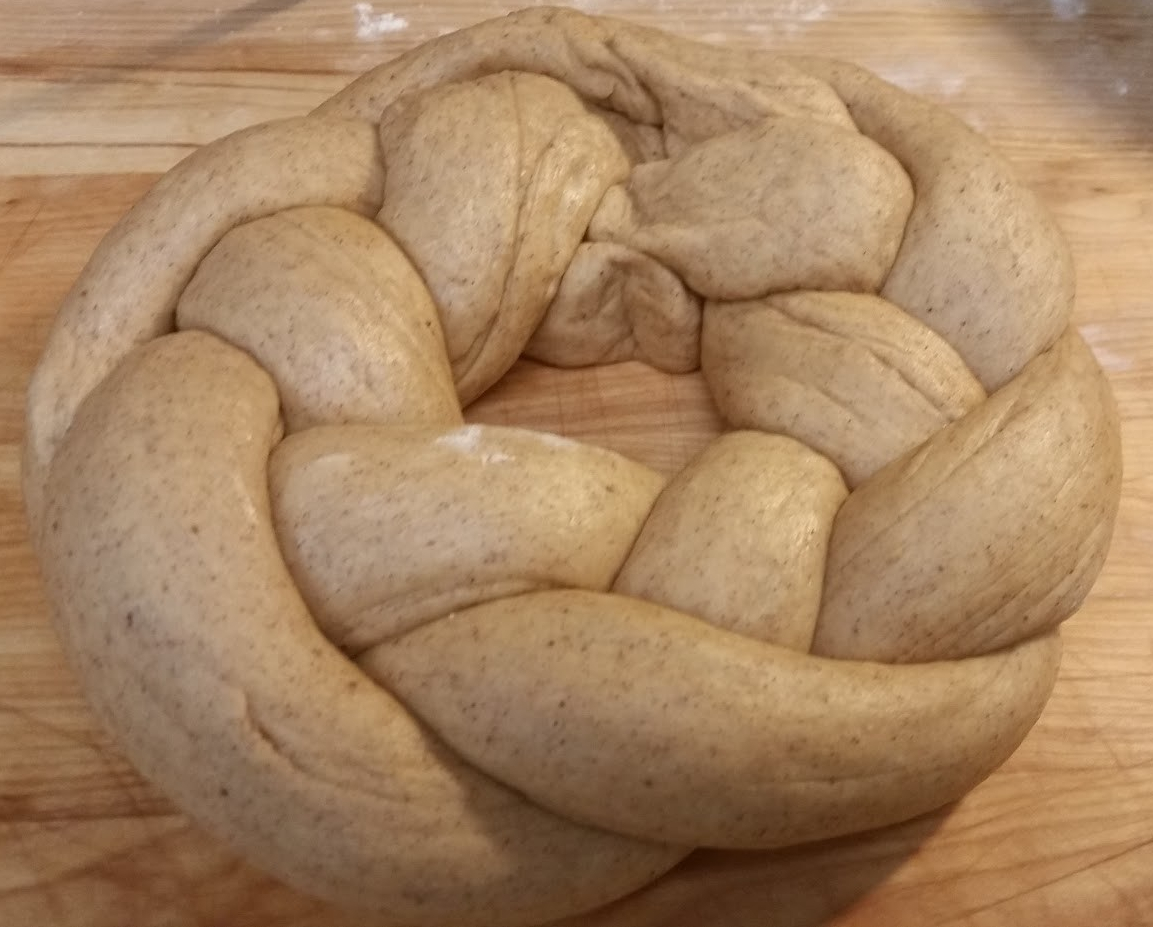
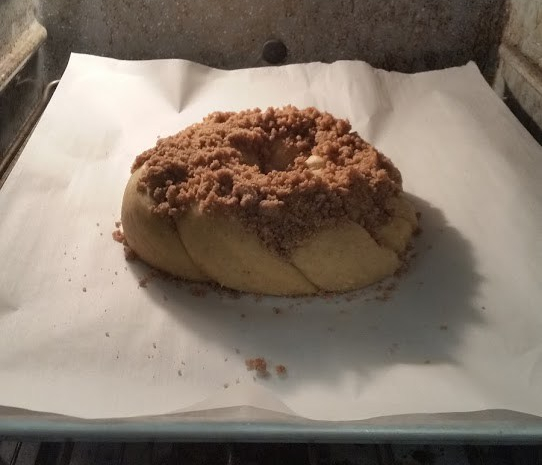
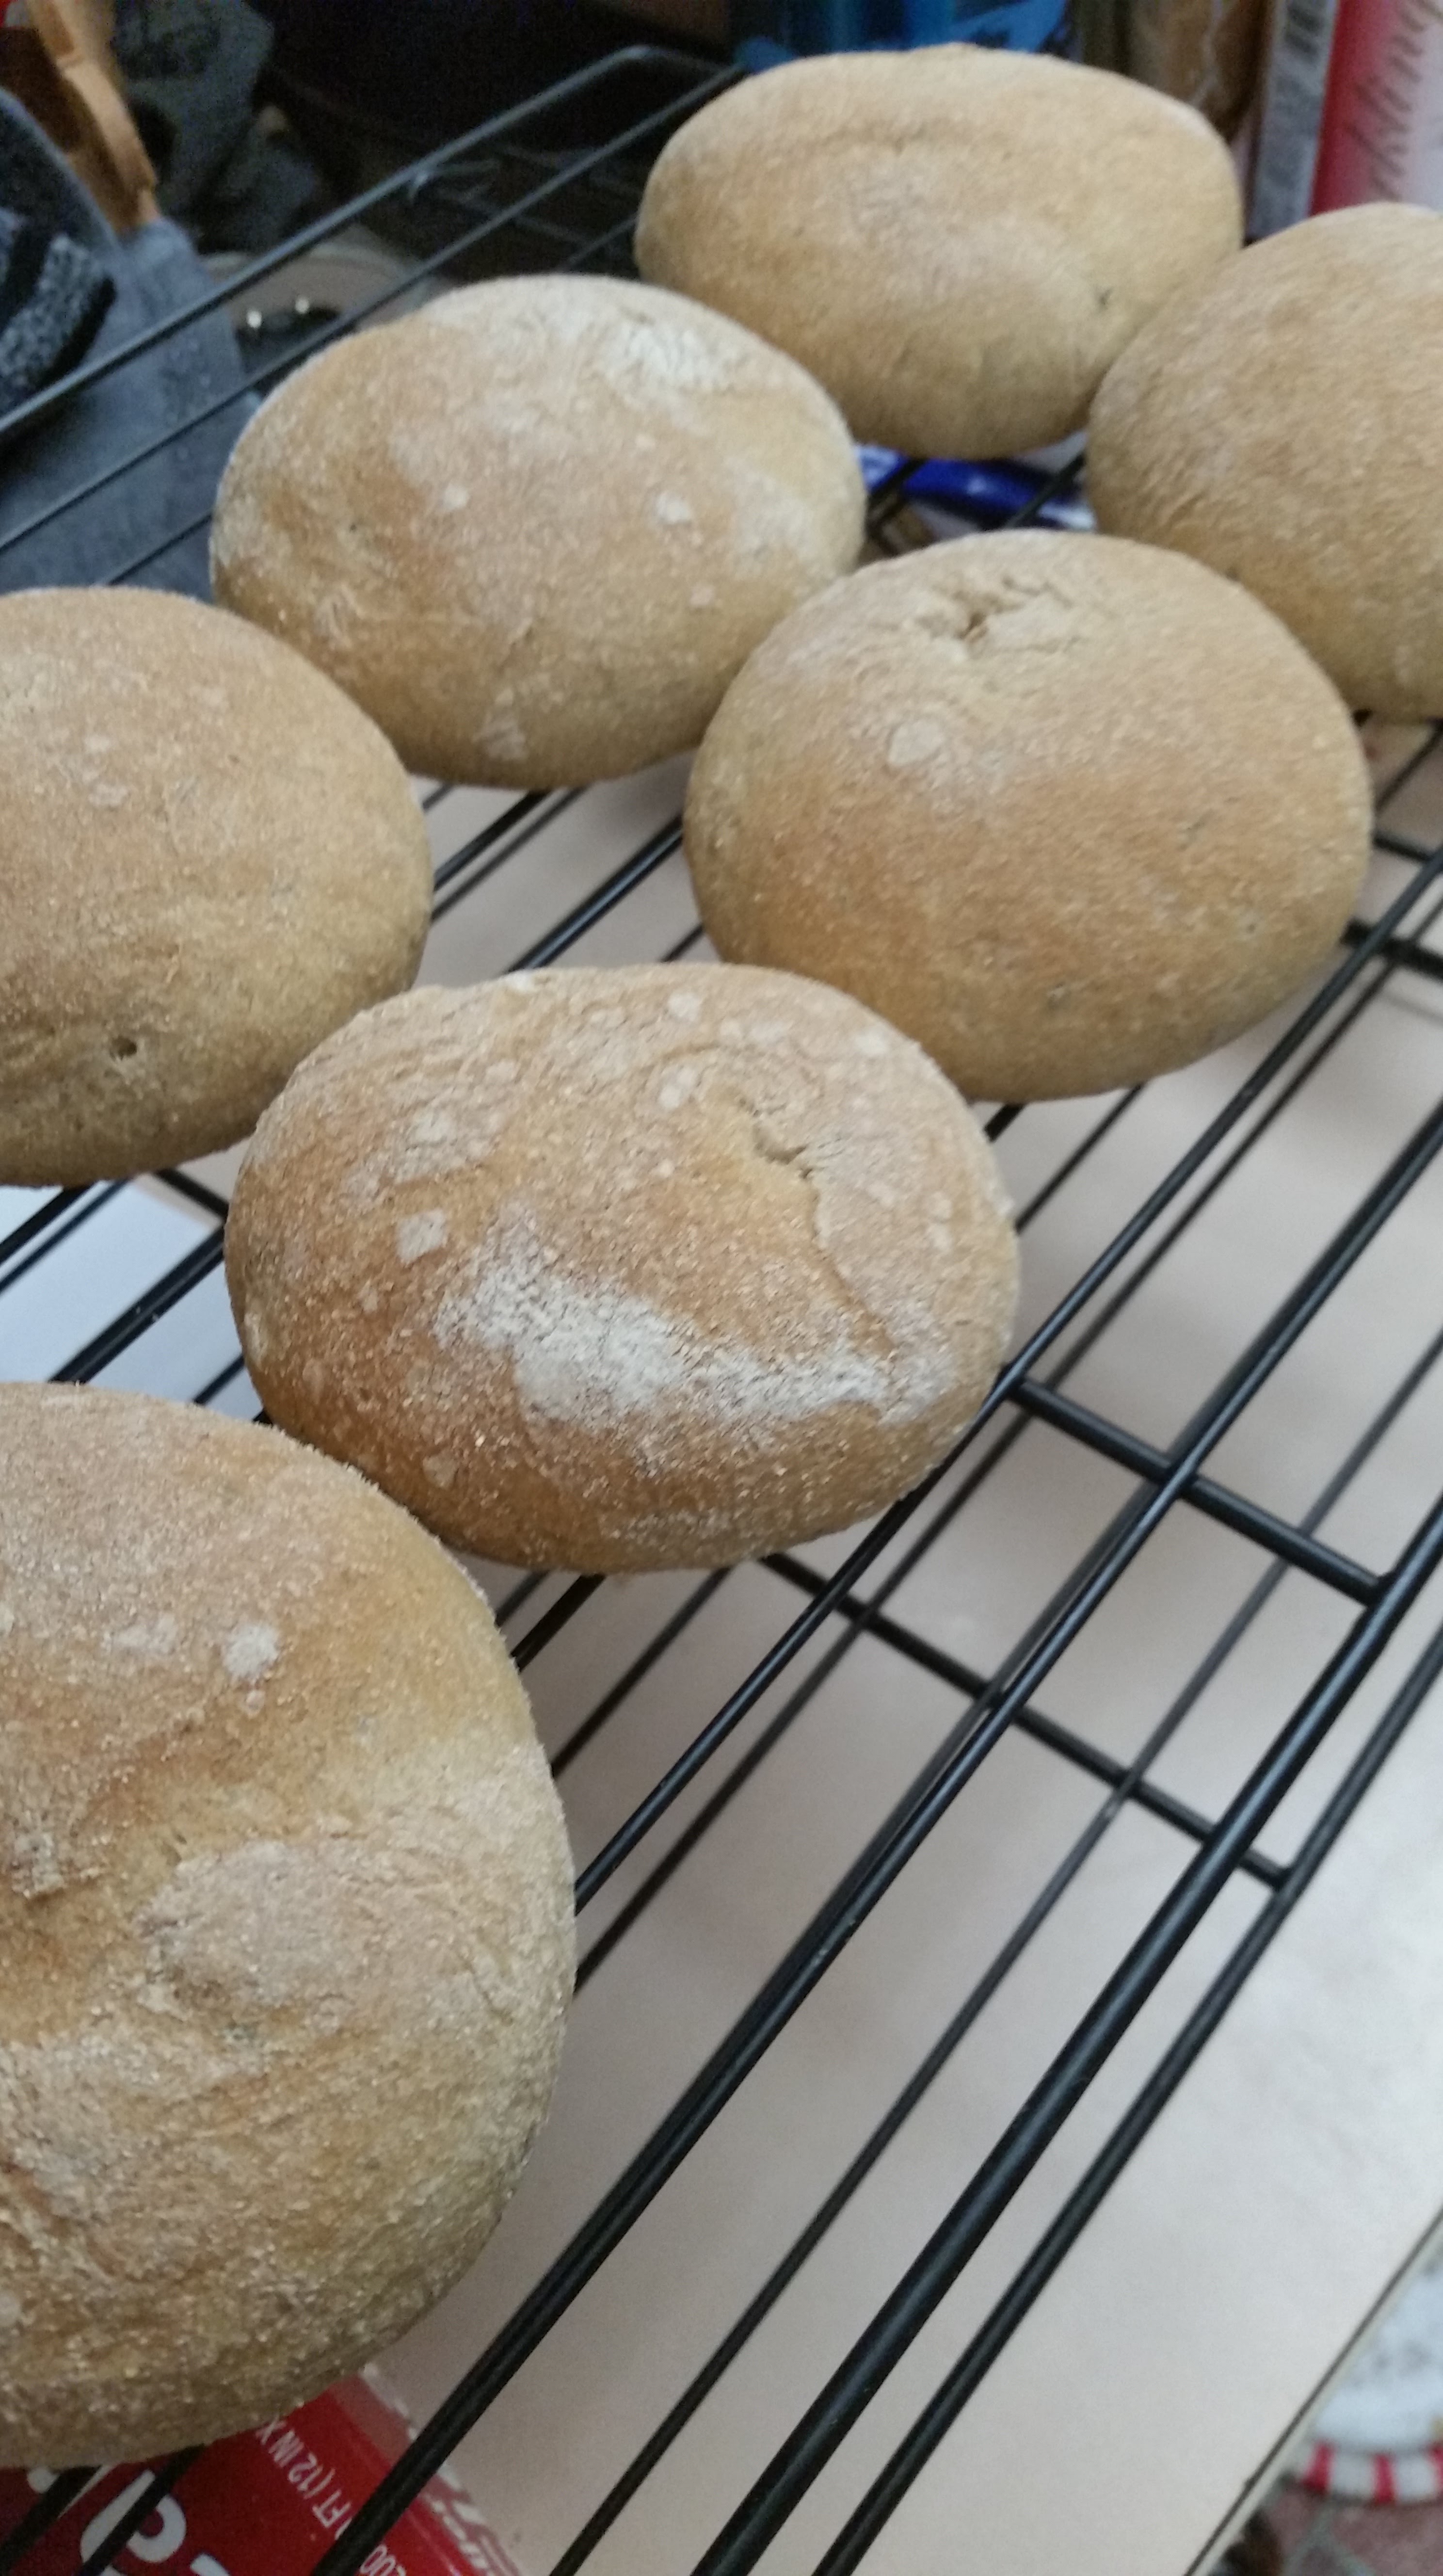
Turn out the dough onto a lightly floured board. Gently deflate and fold into thirds (like a letter) twice, first one way and then turn sideways to do it again. Divide into sixteen roughly equal pieces and roll into balls to make buns. Place on a parchment-lined baking sheet and let rise two more hours until they are once again soft and puffy. Bake in a preheated 375 degree F oven for 15 minutes, until the tops are lightly browned. Let cool a few minutes on the sheet, then remove to a rack.

Brush the tops with melted butter while they’re still warm. Eat warm or wrap in plastic to keep for later. May be frozen if you’re not going to finish them off in two or three days.

Sourdough Milk Bread (Tangzhong)

So, this is not the easiest bread, but the results were amazing- sweet, soft, toasts like a dream, with only the faintest sourdough aftertaste. Worth the work.

This is adapted from the Japanese milk bread recipe on the King Arthur flour website: https://www.kingarthurbaking.com/recipes/japanese-milk-bread-recipe A tangzhong is a pre-cooked mix of liquid and flour that gelatinizes the starch to make the bread softer.

Ingredients:

Tangzhong
3 Tbs water
3 Tbs milk, whole preferred
2 Tbs bread flour

Dough
Tangzhong
100 g sourdough starter, 100 percent hydration (equal flour and water in starter)
350-400 g bread flour (about 3 cups- start with 350 g and add a little at a time when kneading)
2 Tbs nonfat dry milk
1/4 c sugar
1 tsp salt
1/4 c milk, whole preferred
1 large egg
4 Tbs butter, melted

To make the tangzhong, combine the ingredients in a small, heavy-bottomed pan over low heat. Whisk to break up the lumps and make it smooth, then continue whisking while it cooks until the mixture thickens and the whisk leaves lines across the bottom of the pan as you stir. Remove from pan to a bowl to cool to room temperature.

Once the tangzhong is cool, combine it with all the other ingredients and mix. I recommend a stand mixer with a dough hook, as kneading this bread by hand would take a long time. Watch the dough- it should still be slightly tacky but easily come off hands or the sides of your bowl when it’s come together. If it’s wetter than that, add a little flour a spoonful at a time. Knead it until it’s smooth and stretchy, about 15 minutes. Shape the dough into a ball and then place in a lightly oiled bowl. Cover and leave to rise until soft and puffy, about 4-6 hours. It may not necessarily double.

Divide the risen dough into four roughly equal pieces. Stretch each piece into a 5″ x 8″ rectangle, then fold the short ends in towards the middle in thirds, like folding a letter. Flatten the resulting piece again into a 3″ x 9″ rectangle, then roll up from one of the short ends. Place the rolled dough seam-side down in a 9″ x 5″ loaf pan that’s been lightly oiled. Do this to all four pieces, making a loaf with four bumps across the top. Cover and let rise until the dough starts to peek above the top of the loaf pan, another 2-3 hours.

Preheat oven to 350 degrees F. Brush top of dough with milk for a golden crust. Bake for 30-40 minutes, or until an instant read thermometer in the center of the loaf reads 190 degrees F.

Place on rack in pan for 10 minutes, then remove from pan to rack to finish cooling completely.

Overnight Caramel Cinnamon Rolls

This is a recipe that my mom has made good use of over the years, and so now I’m making it. It’s a good way to have a fancy breakfast waiting for the morning- the overnight rise in the fridge guarantees you’ll have delicious food just by putting something in the oven. You will need TWO 13×9 pans for this recipe, as it makes 24 rolls.

The apples were an experiment- they worked, but the extra juice thinned out the caramel a little bit. People enjoyed the rolls, but I think I liked the pecans better.

Dough:

2 packages (4 1/2 tsp) active dry yeast

1/2 cup warm water

2 cups scalded milk, cooled to lukewarm

1/3 cup sugar

2 tsp salt

1/3 cup vegetable oil

3 tsp baking powder

1 egg

5-6 cups all purpose flour

Filling:

4 Tbsp butter, softened or melted

1/2 cup sugar

4 tsp ground cinnamon

Glaze:

1 cup brown sugar, packed

1/2 cup (1 stick) butter

2 Tbs light corn syrup

1/2 cup pecan halves (or about 1 apple, thinly sliced, or similar topping)

Dissolve the yeast in the warm water. Stir in the milk, 1/3 cup sugar, oil, baking powder, salt, egg, and 2-3 cups of the flour. Beat until smooth. Mix in the remaining flour to make a shaggy dough.

Turn the dough out on a well-floured board, knead until smooth and elastic, about 10 minutes. Place in a greased bowl, turn greased side up. Cover, let rise until double, about 1 1/2 hours.

Heat butter and brown sugar for the glaze together until melted. Remove from heat- stir in corn syrup. Divide mixture between two greased pans and spread across bottom. Add pecans or other toppings.

Punch down the risen dough. Divide in half.

Roll first half into a large rectangle. Brush with half the filling butter; sprinkle with half the sugar and cinnamon mix. Roll into a cylinder. Cut into twelfths. Place each section in the pan on top of the caramel glaze.

Repeat with other half of the dough, placing in the second pan.

Cover both pans with foil. Let rise overnight in the fridge.

To bake, preheat oven to 350 degrees F. Remove foil from pans. Bake for 30-35 minutes. When tops are golden brown, remove and turn pan over onto a foil covered serving tray.

Lift pan off your glorious, caramel covered rolls. Best served warm.

Glaseah Feast Bread

This recipe is for the festival or feast bread mentioned in MCA Hogarth’s Mindtouch book. According to the author, the bread descriptions were inspired by both challah and pan de gloria, with a coffee cake style topping. So, I have combined elements of both breads, and added that classic streusel topping (as well as a honey glaze).

I took this bread to a Cub Scout cookout, and came back with only a small portion. It was popular! Well and truly a success by any measure. Don’t be afraid of the braid- you need the bends to catch all that topping.

BREAD

  • 2 tsp instant yeast (a packet is 2 1/4 tsp, and will do if that’s what you have)
  • 3 1/2 cups unbleached all-purpose flour
  • 1 tsp nutmeg
  • 1 1/2 tsp cinnamon
  • 1/4 cup warm water
  • 2 eggs
  • 3/4 c evaporated milk (1/2 a can)
  • 1 1/2 tsp table salt
  • 1/4 cup vegetable oil
  • 1/4 cup honey
  • 1 tsp vanilla

TOPPING

  • 2 Tbs butter (chilled)
  • 1/4 cup granulated sugar
  • 2 Tbs unbleached all-purpose flour
  • 1 tsp cinnamon
  • 1/4 tsp nutmeg

GLAZE

  • 1/3 cup honey

In a large bowl, whisk together the yeast and 1/4 cup of the flour, then whisk in the warm water until smooth (hot water from the tap is warm enough for this). Let sit for 10 minutes, until slightly puffed up.

Whisk the 2 eggs, salt, oil, honey, evaporated milk, and vanilla into the yeast slurry until all is entirely combined. Add in the remaining 3 1/4 cups flour and the cinnamon and nutmeg. Stir with a large spoon until the dough comes together. Turn out on a lightly floured surface and knead until you have a smooth, springy ball.

Place the dough in an oiled bowl and cover the bowl with plastic wrap. Let rise until double, almost 2 hours(!), as it tends to be slow to rise. (Check by jabbing a finger into the dough. If the dough springs back, needs to rise longer. If it leaves a hole, it’s ready.)

Punch down the risen dough and divide into thirds. Roll out the thirds to at least 24 inches long (longer if you have the space). Braid the dough in a simple braid. You can either tuck the ends under for a long loaf, or shape into a circle and pinch the strands to their match to make a wreath.

Heat oven to 325 degrees F. Move the dough to a baking sheet (recommend parchment paper) and let the dough rest while you prepare the topping.

Combine the flour, sugar, cinnamon, and nutmeg in a bowl and stir to combine. Cut the chilled butter into pieces and drop into the bowl, then use a small, metal fork to blend the butter into the dry mix until it resembles crumbs. (You may need to scrape the fork a few times as you go.)

Carefully spoon the topping onto the braided bread to cover as much of the top as you can.

Bake for 35-40 minutes.

Gently heat the 1/3 cup honey (either 15 seconds on high in the microwaves, or in a pan on the stovetop). Pour over the bread while it is still hot, trying to cover as much of the surface as you can.

Let the bread cool until all the honey soaks in.

Slice and eat!

braidbake timenomnom

Mexican-style Chocolate Scone

It’s hard to make a drier baked good, like a scone, really taste like chocolate. Instead of going for a rich, gooey taste (for which you need rich, gooey batter, like in a cake), I added some cinnamon and chipotle pepper to back up that chocolate flavor. The result is good, especially if you’re fond of spicy chocolate flavor!

I used white whole wheat flour- these will probably be easier to shape and a little less dry with plain white flour. Feel free to try for yourself!

  • 1 3/4 cup flour
  • 2 1/4 tsp baking powder
  • 1 tsp cinnamon
  • 1/8 – 1/4 tsp ground chipotle pepper (or substitute cayenne)
  • 2 Tbs brown sugar
  • 1/2 tsp salt
  • 1/4 cup butter (1/2 stick)
  • 4 oz unsweetened baking chocolate
  • 1/3 cup heavy cream
  • 1 tsp vanilla
  • 2 eggs
  • turbinado sugar for sanding the top (1-2 Tbs)

Preheat oven to 450 degrees F

Combine the flour, baking powder, brown sugar, cinnamon, pepper, and salt in a bowl and stir to mix. Set aside.

Put the cream in a small, heavy-bottomed pot over low heat. Break up the chocolate a little and add to the cream. As the chocolate melts, stir it and the cream together. When fully mixed, add the vanilla and work that into the chocolate. (It will be thick, more like frosting than melted candy bar.) Remove from heat.

Beat the eggs. Reserve a tablespoon or two of the eggs in a separate bowl. For the rest, add about a quarter of the chocolate mixture and beat it in. Continue adding the chocolate a quarter at a time and working it all together. It will resemble pudding at this point, but don’t eat it- raw eggs aren’t safe, and it has no sugar, either.

Drop the butter into your dry mix and cut it in with a couple of knives or a pastry cutter. Work the butter in until the biggest pieces are crumb sized.

Drop your chocolate mix into your dry mix and cut through it a few times, then stir everything together as best you can. Like me, you’ll probably need to get your hands in to get it all together.

Lightly flour a working surface and pat the dough into a circle, about 3/4 of an inch high. Cut into wedges with a butter knife, then transfer to a baking sheet.

Brush the tops with the reserved eggs, then sprinkle on the turbinado sugar.

Bake at 450 degrees F for 12-15 minutes. (If you have a dark/no-stick pan, lower the heat to 425.)

Serve with a creamy drink! I bet it goes great with kerinne!

Lean Herb Rolls

This is a simple, lean bread that makes just enough to go with one or two meals, lightly flavored with dried herbs.

  • 1 cup warm water
  • 1 tsp sugar
  • 1 tsp yeast
  • 1/2 tsp salt
  • 1/2 tsp sage
  • 1/2 tsp thyme
  • 2-3 cups “hard” flour (“bread flour” or King Arthur’s whole wheat)

Start by heating the water to about 110 degrees. Sprinkle in the yeast and sugar, give it a stir and let it sit a few minutes to proof.

Add the salt, the thyme, the sage, and a cup of the flour. Stir it in. Add more flour until it comes together in a shaggy dough. Knead on a floured surface until smooth and elastic.

Let rise in an oiled bowl under a damp towel for about an hour (until double).

Remove risen dough, punch down and knead a couple times. Cut into about eight pieces, shape into round rolls. Place on greased baking sheet, cover and let rise another half an hour.

Preheat oven to 375 degrees F. For crunchier crust, spritz water into the oven before baking, or place a shallow dish of water in the bottom rack before preheating to create steam.

Bake for 15-20 minutes, until browned and the bread sounds hollow when tapped.4

20180216_154835.jpg

Soft Whole Wheat Bread

So! Experiment completed, and what have we learned?

The bread is soft and moist, in spite of being whole wheat. It’s even softer than when I work large quantities of butter into the dough (a tactic I have tried before). The flavor is good, though a bit bland- I should have added more salt, even though the water was already a bit salty.

I made two varieties: a honey wheat and an oat wheat. Of the two, I think the oat wheat turned out with a little better flavor, but they both have great texture.

NB: Potato water DOES NOT KEEP. It goes bad within a couple of days, even in the fridge (potato starch likes to ferment when wet). If you plan to do what I did and make bread with leftover water from another recipe, plan to stay up and bake it that evening, or do it the next morning.

You’ll need:

  • 2 cups potato water (water drained after boiling potatoes, such as for mashed potatoes)
  • 1/2 cup milk (I use whole milk)
  • 1 – 2 Tbs Honey or Molasses
  • 1 tsp yeast
  •  1/2 tsp salt (optional, recommended)
  • 5+ cups of whole wheat flour (Optional: replace the first cup with rolled oats)
  • 2 Tbs butter, soft

I use King Arthur whole wheat flour (I used white whole wheat for these loaves), because it’s NOT all-purpose. It’s made with “hard” wheat, the kind that naturally has more gluten in it. It makes a good whole wheat bread dough.

Pour your potato water into a bowl. If it is still hot, let it cool to blood temperature. If cool, warm it up. Sprinkle on the yeast and stir in the honey or molasses. Let it sit for a few minutes until the yeast begins to foam. Add salt.

Pour in the milk, then stir in the first couple of cups of flour (or the oats and flour). Add another cup and stir in. Add the butter and work it into the sticky, messy dough. Continue adding flour, a little at a time, until the dough begins to pull away from the sides.

Turn out onto a floured board (or pastry cloth). Knead, sprinkling more flour on the board as needed until the dough is smooth, elastic, and no longer sticky. Dough will be soft, like working with a white bread!

Lightly grease a clean bowl. Gather the dough into a ball, then drop into the bowl. Turn the dough over (so both sides are lightly greased). Cover with a damp towel and set in a warm place (70+ degrees F) to rise for about an hour (until double).

If dough is fully risen, punch it down, knead a couple of times, then shape into a loaf. Place in a lightly greased loaf pan and cover with the damp towel again. Let rise 30-40 minutes.

Once the dough is finished with its second rise, place it in the oven and set the oven to 375 degrees F (do not preheat). Bake about 40 minutes, until the top is well browned. The traditional test for baked bread is to turn it over and tap the bottom with your finger. If it sounds hollow, your bread is done. (This is tricky but doable, even with loaf pans, so long as you have towels handy to protect your hands.)

Remove from pan and set on rack to cool. Let cool completely before slicing. Makes a large loaf.

20180201_130043.jpg

Libum Bread

This is an ancient Roman recipe, baked for special occasions such as weddings. You can either bake it in a round loaf (as above), or in individual rolls. It ends up like a kind of giant cheese biscuit, and can be served as an appetizer or drizzled with honey and fruits for a dessert.

We didn’t bother to slice this, we just broke off pieces. This is a double recipe, by the way, and it doesn’t get very far across that pizza pan, there. A triple recipe might have filled it better, but this was enough for appetizers for a family gathering.

Ingredients:

  • 9 oz ricotta cheese
  • 1 egg
  • 1/2 tsp salt
  • 1/2 cup flour
  • olive oil (extra virgin)
  • bay leaves
  • fresh rosemary (optional – for single loaf)
  • fresh sage (optional – for single loaf)

Preheat oven to 400 degrees F.

First, measure the ricotta and break it up into a bowl. Beat in the egg and salt and stir until everything is smooth.

Add the flour and stir until thoroughly mixed.

Prepare your baking pan. If making rolls, lay out bay leaves and drizzle olive oil over the top. Break batter up into pieces, shape into balls, and place the dough balls on the bay leaves.

If making a single loaf, spread bay leaves, rosemary, and sage across the bottom and drizzle with olive oil. Pat dough roughly in shape, then lay across the herbs. Press flat if necessary.

Bake at 400 degrees F for about 40 minutes. Let cool completely before serving.

Carrot Muffins

I developed this recipe for the cubs. I was looking for something with lots of carrots in it, but that isn’t really sweet (the way carrot cake is). Using prune juice is also helpful to keep little cheese-loving boys regular.

(Muffins shown have chocolate chips in them.)

Orange juice gives the muffin a fruitier, lighter flavor.

Ingredients:
2 cups shredded carrots (I like the texture of coarsely shredded best)
2 cups flour (I use white whole wheat)
1 tsp baking powder
1/2 tsp baking soda
1/2 tsp salt
1 tsp cinnamon (you can safely add much more spice if you want, though)
1 egg
1/2 cup butter, melted
1/2 cup honey
3/4 cups juice (orange juice or prune juice)
Mix-ins ( about a cup of chocolate chips or nuts)

Grate the carrots first. Unless you have a food processor, this will take the longest. Set aside.
Get out two bowls.
Beat the egg in the first bowl, then add the butter, the honey, and lastly the juice, while stirring (this order helps keep the butter from crystalizing as the juice is added).
Measure all the dry ingredients (except the carrots) into the 2nd bowl. Stir. Add the wet ingredients to the dry ingredients and stir until just mixed. Fold in the carrots. Fold in any mix-ins.

Scoop into greased muffin tins. It’s okay to fill to just below the top of the cup.

Bake at 400 degrees for 15-20 minutes. Test with toothpick. When a toothpick poked in the center of a muffin comes out clean, it’s ready. Makes 12 if no mix-ins used. If you add additional items, it’s more like 14-15 muffins.

Suggested mix-ins:
Dark chocolate chips- quality chocolate chips will make these muffins difficult to resist.
Slivered almonds- If you’re avoiding chocolate (or don’t enjoy it for some reason), almonds do well in this recipe.

Spider Cornbread

This recipe is from Civil War Period Cookery, by Robert W. Pelton, part of The Pelton Historical Cookbook Series.

It is, quite simply, the best cornbread recipe I’ve ever tried. The “spider” in the name is from a kind of cast iron pan with very long legs that was used when cooking over coals.

  • 2 eggs
  • 2 tbs sugar
  • 3 cups milk, divided
  • 1 tsp salt
  • 1 1/3 c corn meal
  • 1/3 c flour
  • 1 tsp baking powder
  • 2 tbls butter

You will need a cast iron skillet.

Preheat oven to 400 degrees. Beat eggs and sugar together briskly, then gently stir in two cups of the milk and the tsp salt. Combine the flour, corn meal, and baking powder in a separate bowl and whisk to combine, then gradually stir in to the eggs and milk, making sure to get all the lumps out.

Melt the butter in a cast iron skillet, and tilt the skillet to butter the sides. Pour the batter into the skillet (it will be thin). Hold the remaining cup of milk about 6 inches above the skillet and slowly pour over the top of the batter in a circular motion. Do not stir! Carefully place skillet in oven (center rack). Bake for 30 minutes. Serve warm with butter.

As you can see in the picture, the cornbread sets up in layers- a golden crust, a soft middle, and a streak of milky custard on top. It is delicious even without butter, and the cubs gobble it up.

A WordPress.com Website.

Up ↑